Thinking about switching your bathtub for a shower? A tub-to-shower conversion can free up floor space, improve safety, and give your bathroom a cleaner, more modern look while often costing less and taking less time than a full remodel. You can expect a faster installation, clearer accessibility benefits, and multiple design choices that fit both small and large budgets.
In post Bathtub to Shower Conversion You’ll find this post walks you through practical steps to plan the upgrade, what to expect during installation, and how to pick fixtures and finishes that match your daily needs. Keep reading to learn how to prepare your space, evaluate costs and contractors, and follow an installation timeline that minimizes disruption.
Planning Your Bathroom Upgrade
Decide how much space you need, what shower type fits your lifestyle, how much you’re willing to spend, and whether your plumbing will require relocation or upgrades.
Assessing Space and Layout Requirements
Measure the existing tub area and the full bathroom dimensions before ordering materials or contacting contractors. Note wall-to-wall width, distance to doors, and any obstructions like radiators, cabinets, or windows.
Determine the minimum clearances you want: a 36-inch by 36-inch shower is functional, while a 36×48 or 60×36 improves comfort. If you plan a curbless or walk-in design, check floor slope and the possibility of a linear drain to maintain proper drainage.
Consider traffic flow and storage. You may reclaim vanity or linen space by switching to a corner or alcove shower, or you might need built-in niches for toiletries. Sketch multiple layouts and photograph the current plumbing wall for contractor review.
Choosing the Right Shower Style
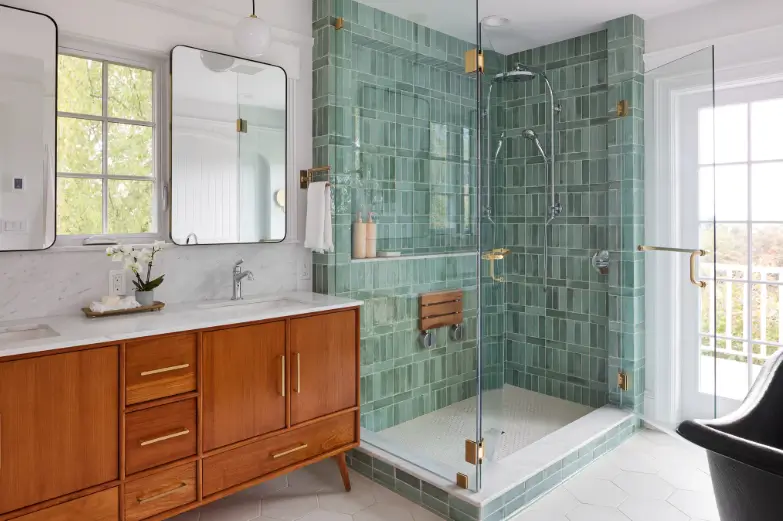
Select a shower type that matches your space and needs: alcove (three-wall), neo-angle (corner), walk-in (curbless), or stall with a preformed pan. Each option affects footprint, accessibility, and waterproofing approach.
Pick enclosure materials and door styles based on maintenance and budget. Frameless glass looks modern but costs more; framed or semi-frameless options save money. Sliding doors suit tight bathrooms; hinged doors need clearance.
Decide on shower fixtures and fittings early. A thermostatic valve and handheld wand improve safety and usability. Choose tile or acrylic walls based on long-term maintenance: tile offers design flexibility but needs grout care; acrylic or solid-surface panels install faster and reduce leak risk.
Budgeting and Cost Considerations
Set a realistic budget that separates labor, materials, permits, and contingencies. Typical conversions range widely; plan for midrange materials plus professional labor to avoid costly mistakes.
Get at least three quotes that break out costs for demolition, waterproofing, drain and pipe work, framing, substrate, wall finishes, glass, fixtures, and tile labor. Ask contractors for references and itemized bids to compare apples to apples.
Allocate 10–20% of your budget for unexpected issues like hidden rot, floor reinforcement, or nonstandard drain locations. Prioritize spending where it prevents future repairs: quality waterproofing, a good drain, and a properly installed slope.
Understanding Plumbing Impacts
Locate the existing drain and water supply lines and confirm whether the drain sits on an exterior or interior wall. Moving a drain vertically or horizontally adds cost and may require cutting joists or accessing the subfloor.
Check whether your current drain height supports a low-threshold or curbless shower; you may need an engineered channel drain or a raised platform if the joist depth limits fall. Upgrading to a larger drain or adding pressure-balancing/thermostatic valves improves performance and safety.
Factor in permits and plumbing inspections. If you alter venting, stack configuration, or water-heater demand (for multiple high-flow fixtures), consult a licensed plumber to ensure compliance with local codes and maintain adequate water pressure.
See also: How to Choose the Best Fence for Your Home
Installation Process Explained
This section walks you through the steps you’ll take, from removing the tub to selecting the finished enclosure. It highlights demolition, how to create a reliable waterproof barrier, and practical enclosure and door choices that match common footprints and budgets.
Preparation and Demolition Steps
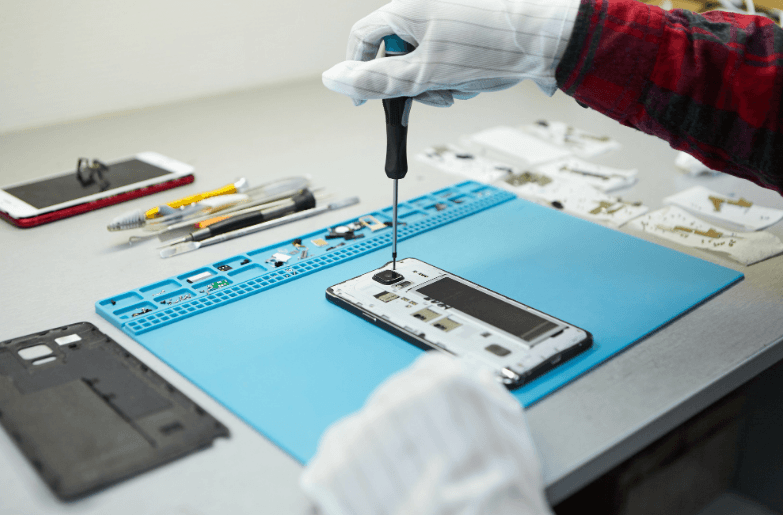
Start by turning off water to the bathroom and shutting off any related circuit breakers for lights or exhaust fans. Remove accessories (showerheads, faucets, soap dishes) and trim to expose the tub surround.
Protect floors and nearby fixtures with rosin paper and drop cloths. Cut caulk lines and remove the tub apron; for cast-iron tubs you’ll likely need a jack or cutting tools and at least two strong helpers. Pull wall materials back to the studs—remove drywall or cement board to reveal plumbing and framing.
Inspect and repair framing, subfloor, and studs for rot or mold. Confirm drain height and stud locations. At this stage decide whether to reuse existing plumbing rough-in or move controls; relocating drains or adding curbless entry raises labor and cost. Take photos and measurements before closing walls.
Waterproofing Methods
Choose between three common waterproofing strategies: membrane liners, cement backer board with liquid-applied membranes, or full-panel solid-surface systems. Membrane liners (PVC or CPE) are often used for prefabricated bases and require a precise shower pan slope. They are cost-effective but need proper seams and a secure flange.
Cement backer board with a liquid-applied membrane (e.g., polyurethane or elastomeric coatings) provides a durable substrate for tile. Fasten backer board to studs, tape joints with alkali-resistant fiberglass mesh, and apply two coats of liquid membrane, ensuring coverage extends onto the shower floor flange.
Solid-panel systems (acrylic or cultured marble) come as custom-fit wall panels with factory seals. They simplify waterproofing because panels overlap and factory joints reduce leak risk. Whichever method you pick, seal all joints, around the drain, and at transitions to the floor with appropriate flange and sealant rated for showers.
Shower Enclosure and Door Options
Pick an enclosure based on space, maintenance preference, and accessibility. Full-height glass enclosures create an open look; frameless glass is modern but costs more and needs thicker tempered glass and precise installation. Semi-framed or framed glass provides lower cost and easier sealing.
Sliding doors suit alcove showers where swing clearance is limited. Hinged or pivot doors work well in larger bathrooms and provide full-width entry for cleaning or for accommodating mobility devices. For curbless or low-threshold showers, consider a fixed glass panel (walk-in) plus a partial door to control splashing.
If you choose tile walls, plan for grout type and maintenance; epoxy grout reduces staining and is recommended for wet environments. For easier upkeep, select solid-surface or acrylic panels that resist mold and wipe clean. Match hardware finishes to fixtures and ensure door seals are watertight at threshold and jambs.